1. የደህንነት መረጃ
Read all safety warnings and instructions carefully before using this device. Failure to follow these instructions may result in electric shock, fire, or serious injury.
- ከከፍተኛው ቮልት አይበልጡtage ratings specified for the device (DC/AC 600V).
- ከእያንዳንዱ አጠቃቀምዎ በፊት የሙከራ ሊዶቹ በትክክል መገናኘታቸውን እና በጥሩ ሁኔታ ላይ መሆናቸውን ያረጋግጡ።
- Do not use the device if it appears damaged or if the battery cover is not securely closed.
- ከቀጥታ ወረዳዎች ጋር ሲሰሩ ከፍተኛ ጥንቃቄ ያድርጉ። አለበለዚያ እስኪረጋገጥ ድረስ ወረዳዎች ሁልጊዜ ሕያው እንደሆኑ ያስቡ።
- በመለኪያ ጊዜ እጅዎንና ጣቶችዎን ከመፈተሻ መከላከያዎች ጀርባ ያስቀምጡ።
- Do not operate the device in wet environments or during electrical storms.
- የባትሪው ዝቅተኛ መጠን ያለው አመልካች ሲታይ ባትሪዎቹን ወዲያውኑ ይተኩ። ይህም ትክክለኛ ንባብ እንዲኖርዎት ያደርጋል።
2. ምርት አብቅቷልview
The UOFKIPBA ZL128B is a True RMS Smart Pen Multimeter designed for accurate and reliable electrical measurements. It features a digital display with 4000 counts, non-contact voltage (NCV) detection, and automatic identification of measurement types. This compact device is suitable for testing DC/AC voltage, resistance, capacitance, frequency, diode, and live wire detection.
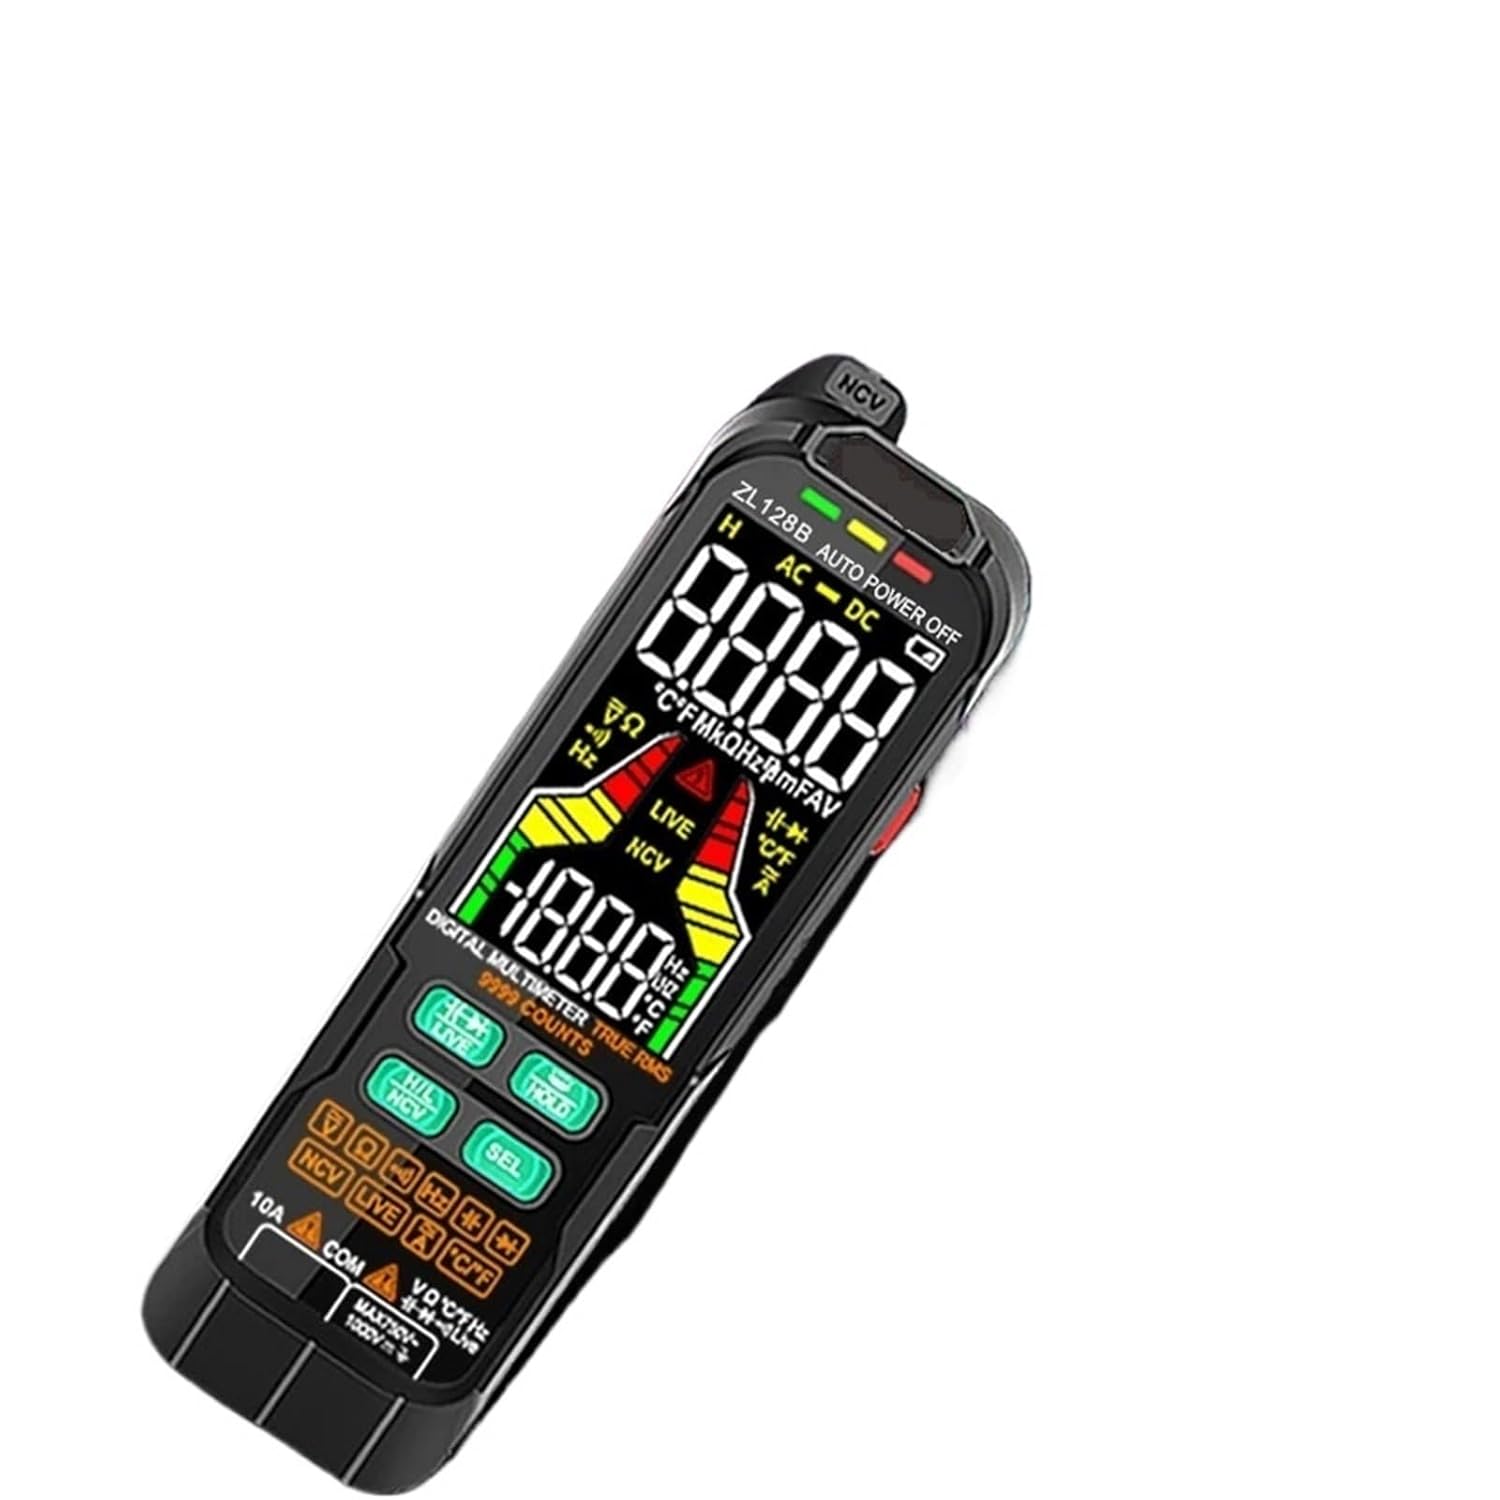
This image shows the UOFKIPBA ZL128B True RMS Smart Pen Multimeter, highlighting its digital display and various function buttons. The device is black with a clear LCD screen displaying measurement readings and mode indicators.
3. ማዋቀር
3.1 የባትሪ ጭነት
- በመልቲሜትሩ ጀርባ ላይ የባትሪውን ክፍል ያግኙ።
- የባትሪውን ክፍል ለመክፈት ዊንዳይቨር ይጠቀሙ።
- ሁለት 1.5V AAA ባትሪዎችን ያስገቡ፣ ይህም ትክክለኛውን የፖላራይቲ (+ እና -) ያረጋግጣል።
- የባትሪውን ክፍል ሽፋን ይቀይሩት እና በመጠምዘዝ ያስቀምጡት.
The device is powered by 2x1.5V AAA batteries (included).
4. የአሠራር መመሪያዎች
The ZL128B multimeter features smart auto-ranging for most measurements, simplifying operation. Press the 'SEL' button to cycle through specific functions within a mode if needed.

This image displays the UOFKIPBA ZL128B Smart Pen Multimeter being held in a hand, demonstrating its ergonomic design and compact size. The display shows a reading of '14' and 'NCV', indicating its non-contact voltagሠ የማወቅ ችሎታ.
4.1 Automatic Measurement Mode
- Turn on the multimeter. It will typically default to an automatic measurement mode.
- Connect the test probes to the circuit or component you wish to measure. The multimeter will automatically detect and display the measurement type (e.g., AC voltagሠ ፣ ዲሲ ጥራዝtagሠ, መቋቋም).
4.2 ዲሲ/ኤሲ ጥራዝtagሠ መለኪያ
- In auto mode, connect the red probe to the positive terminal and the black probe to the negative terminal (for DC) or across the points for AC.
- ማሳያው ጥራዝ ያሳያልtage reading and indicate whether it is DC or AC.
4.3 የመቋቋም መለኪያ
- የመቋቋም አቅምን ከመለካትዎ በፊት ወረዳው ኃይል መሟጠጡን ያረጋግጡ።
- Connect the probes across the component. The multimeter will display the resistance value in Ohms (Ω), kilo-Ohms (kΩ), or Mega-Ohms (MΩ).
4.4 የአቅም መለኪያ
- መልቲሜትር ላይ ጉዳት እንዳይደርስ ለመከላከል መለኪያው ከመለካቱ በፊት መያዣው ሙሉ በሙሉ መውጣቱን ያረጋግጡ።
- Connect the probes across the capacitor terminals. The display will show the capacitance value in Farads (F), micro-Farads (µF), or nano-Farads (nF).
4.5 የድግግሞሽ (Hz) መለኪያ
- Connect the probes to the signal source. The multimeter will display the frequency in Hertz (Hz) or kiloHertz (kHz).
4.6 የዲያዲዮ ሙከራ
- ዳዮዱ ከወረዳው ጋር መገናኘቱን ያረጋግጡ።
- Connect the red probe to the anode and the black probe to the cathode. The display will show the forward voltagኢ ጠብታ። መመርመሪያዎችን ገልብጥ፤ ክፍት የወረዳ ንባብ ጥሩ ዳዮድ ያሳያል።
4.7 የእውቂያ ያልሆነ ጥራዝtagሠ (NCV) ማወቂያ
- Activate the NCV function (refer to device buttons).
- Bring the tip of the multimeter near a live wire or outlet. The device will indicate the presence of AC voltagበሚሰማ ድምጽ እና/ወይም በእይታ አመልካች በኩል።
4.8 የቀጥታ ሽቦ ማወቂያ
- Activate the Live Wire function (refer to device buttons).
- Insert the red probe into the socket or touch the wire. The device will indicate if the wire is live.
4.9 የውሂብ መያዣ ተግባር
- በማሳያው ላይ ያለውን የአሁኑን ንባብ ለማቆም 'HOLD' የሚለውን ቁልፍ ይጫኑ። ለመልቀቅ እንደገና ይጫኑት።
5. ዝርዝሮች
| መለኪያ | ዝርዝር መግለጫ |
|---|---|
| የማሳያ ዓይነት | Digital Display, 4000 counts |
| ዲሲ ጥራዝtagሠ ክልል | 4V/40V/400V/600V ±(0.5%reading+3) |
| ኤሲ ጥራዝtagሠ ክልል | 4V/40V/400V/600V ±(0.8%reading+3) |
| የመቋቋም ክልልን መለካት | 400Ω/40kΩ/400kΩ/4MΩ/40MΩ ±(1.5%reading+10) |
| የካፒታንስ ክልል መለካት | 40nF/400nF/4µF/40µF/400µF/4mF ±(3.0%reading+5) |
| የድግግሞሽ ክልል | 40Hz/400Hz/4kHz/40kHz/400kHz/4MHz |
| ከፍተኛው ጥራዝtage | ዲሲ/ኤሲ 600 ቪ |
| የመለኪያ ፍጥነት | በሴኮንድ 3 ጊዜ |
| የአሠራር ሙቀት | 0 - 50 ° ሴ |
| የባትሪ ዓይነት | 2 x 1.5V AAA ባትሪዎች |
| የምርት ልኬቶች | 1.1 x 0.9 x 2.8 ኢንች |
| ክብደት | 0.078 ኪግ (በግምት 2.75 አውንስ) |
6. ጥገና
- ማጽዳት፡ በማስታወቂያው መሣሪያውን ይጥረጉamp ጨርቅ እና መለስተኛ ሳሙና። መጥረጊያዎችን ወይም ፈሳሾችን አይጠቀሙ።
- የባትሪ መተካት፡ ዝቅተኛ የባትሪ አመልካች በማሳያው ላይ ሲታይ ባትሪዎቹን ይተኩ። መመሪያዎችን ለማግኘት ክፍል 3.1ን ይመልከቱ።
- ማከማቻ፡ If the device is not used for an extended period, remove the batteries to prevent leakage. Store in a cool, dry place away from direct sunlight.
- የምርመራ ምርመራ፡ Regularly inspect test leads for any damage, cracks, or exposed wiring. Replace damaged leads immediately.
7. መላ መፈለግ
- መሣሪያው አይበራም፦ ባትሪዎቹ በትክክል መጫኑን ያረጋግጡ እና በቂ ኃይል መሙላት አለባቸው። አስፈላጊ ከሆነ ባትሪዎቹን ይተኩ።
- ትክክል ያልሆኑ ንባቦች፡- Ensure test leads are properly connected. Check battery level. Verify the correct measurement mode is selected (if not in auto mode).
- ማሳያ የለም፡ Check battery connection and charge. If the issue persists, contact support.
- "OL" ወይም "OVER" ይታያል፦ This indicates an overload or out-of-range measurement. Ensure the measured value is within the device's specified range.
8. ዋስትና እና ድጋፍ
For warranty information or technical support, please refer to the documentation provided with your purchase or contact the manufacturer directly through their official webጣቢያ ወይም የደንበኛ አገልግሎት ሰርጦች. የግዢ ደረሰኝህን እንደ ግዢ ማረጋገጫ አቆይ።