1. መግቢያ
The Weintek MT8100iE is a 10.2-inch Human Machine Interface (HMI) designed for industrial automation applications. It features an 800 x 480 TFT industrial-grade LCD and is built to fully support major PLCs such as Rockwell, Siemens, Mitsubishi, and Omron. This manual provides essential information for the proper installation, operation, and maintenance of your MT8100iE HMI.
2. የደህንነት መረጃ
Please read and understand all safety instructions before operating the device. Failure to comply may result in injury or damage to the equipment.
- ማንኛውንም ጭነት ወይም ጥገና ከማካሄድዎ በፊት የኃይል አቅርቦቱ መቋረጡን ያረጋግጡ።
- ይህንን መሳሪያ መጫንና ማስተዳደር የሚችሉት ብቃት ያላቸው ባለሙያዎች ብቻ ናቸው።
- Do not expose the device to excessive moisture, dust, or extreme temperatures.
- Verify correct wiring and connections to prevent electrical hazards.
- The front panel is NEMA4/IP65 compliant, but ensure proper sealing during installation to maintain this rating.
3. የጥቅል ይዘቶች
ሁሉም እቃዎች በጥቅሉ ውስጥ መኖራቸውን ያረጋግጡ፡-
- MT8100iE HMI Unit
- የመጫኛ ቅንፎች (4x)
- የኃይል ማገናኛ
- የተጠቃሚ መመሪያ (ይህ ሰነድ)
- CD-ROM with EasyBuilder Pro Software (or download link)
4. ምርት አብቅቷልview
Familiarize yourself with the components and interfaces of the MT8100iE HMI.
4.1 ፊት View

ምስል 4.1: የፊት view of the MT8100iE HMI, showing the 10.2-inch TFT LCD touchscreen and the power indicator LED at the top left.
4.2 ጎን View
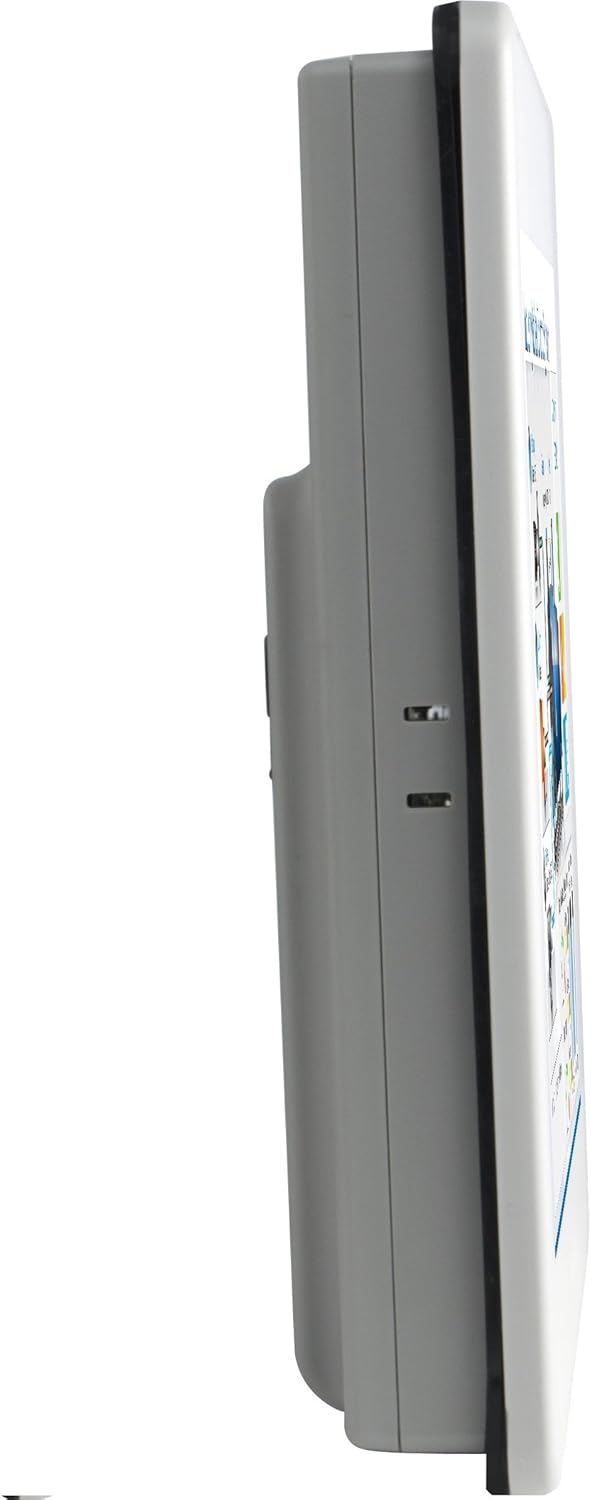
ምስል 4.2: የጎን ፕሮfile of the MT8100iE, illustrating its compact form factor suitable for panel mounting.
4.3 የኋላ View

ምስል 4.3: የኋላ view of the MT8100iE, highlighting the mounting holes for panel installation, the fuse holder for power protection, and the system reset button.
4.4 የመገናኛ ወደቦች

ምስል 4.4: ታች view of the MT8100iE, detailing the various communication ports including USB, Ethernet, COM1 (RS-232), and COM2 (RS-485 2W/4W).
5. ማዋቀር
5.1 የፓነል መጫኛ
- Cut an opening in the control panel according to the dimensions provided in the installation guide (refer to the separate installation template for precise measurements).
- Insert the MT8100iE HMI into the cutout from the front.
- From the rear of the panel, insert the four mounting brackets into the slots on the HMI unit.
- Tighten the screws on the mounting brackets evenly until the HMI is securely fastened to the panel. Do not overtighten.
5.2 የኃይል ግንኙነት
- Connect a 24V DC power supply to the power input terminal block on the rear of the HMI.
- Ensure correct polarity (+ and -).
- Secure the connection firmly.
5.3 የመገናኛ ግንኙነቶች
- ተከታታይ ወደቦች Use the COM1 (RS-232) and COM2 (RS-485 2W/4W) ports to connect to PLCs or other serial devices. Refer to your PLC's documentation for specific wiring diagrams.
- የኢተርኔት ወደብ Connect an Ethernet cable to the RJ45 port for network communication with PLCs or for remote access.
- የዩኤስቢ ወደቦች፡ Use the USB host ports for connecting USB flash drives for project transfers or other peripherals.
6. የአሠራር መመሪያዎች
6.1 በማብራት ላይ
Once all connections are secure, apply power to the HMI. The power indicator LED will illuminate, and the HMI will boot up, displaying the configured project.
6.2 የፕሮጀክት ማውረድ
To load a new project or update an existing one:
- Create or modify your HMI project using the EasyBuilder Pro software on a PC.
- Connect the PC to the HMI via Ethernet or USB.
- In EasyBuilder Pro, use the 'Download' function to transfer the project to the HMI.
- The HMI will restart with the new project loaded.
6.3 የንክኪ ማያ ገጽ አሠራር
The MT8100iE features a resistive touchscreen. Use your finger or a non-sharp stylus to interact with the on-screen elements such as buttons, input fields, and displays.
6.4 PLC Communication
The HMI is designed to communicate with various PLCs. Ensure the communication settings (protocol, baud rate, station ID, etc.) configured in your EasyBuilder Pro project match those of your connected PLC.
7. ጥገና
Regular maintenance ensures optimal performance and longevity of your HMI.
- ማጽዳት፡ ለስላሳ ይጠቀሙ, መamp cloth to clean the screen and casing. Do not use abrasive cleaners or solvents. Ensure no liquid enters the device.
- የጽኑዌር ዝማኔዎች ፦ Periodically check the Weintek website for firmware updates to ensure your HMI has the latest features and bug fixes.
- ፊውዝ መተካት፡ If the HMI does not power on, check the fuse located on the rear panel. Replace it with a fuse of the same type and rating if necessary. Always disconnect power before replacing the fuse.
- የአካባቢ ሁኔታዎች; ጉዳት እንዳይደርስ ለመከላከል የአሠራር አካባቢው በተወሰነው የሙቀት መጠን እና የእርጥበት ክልል ውስጥ መሆኑን ያረጋግጡ።
8. መላ መፈለግ
ይህ ክፍል ሊያጋጥሙህ ለሚችሉ የተለመዱ ጉዳዮች መፍትሄዎችን ይሰጣል።
| ችግር | ሊሆን የሚችል ምክንያት | መፍትሄ |
|---|---|---|
| ኤችኤምአይ አይበራም። | ምንም የኃይል አቅርቦት የለም ፣ የተሳሳተ ሽቦ ፣ የተነፋ ፊውዝ። | Check power connection, verify wiring polarity, replace fuse if blown. |
| የንክኪ ማያ ገጽ ምላሽ አይሰጥም። | Screen calibration issue, hardware fault. | Perform screen calibration (refer to EasyBuilder Pro documentation), contact support if issue persists. |
| Cannot communicate with PLC. | Incorrect communication settings, wrong cable, PLC offline. | Verify communication protocol, baud rate, and station ID in EasyBuilder Pro. Check cable connections. Ensure PLC is powered on and running. |
| Project download fails. | Network issue, incorrect IP address, firewall blocking. | Check network cable, verify HMI and PC IP addresses are in the same subnet. Temporarily disable firewalls for testing. |
9. ዝርዝሮች
| ባህሪ | መግለጫ |
|---|---|
| የሞዴል ቁጥር | eMT3070A1WK |
| የስክሪን መጠን | 10.2 ኢንች |
| ጥራት | 800 x 480 |
| ምጥጥነ ገጽታ | 1.66፡1 |
| የስክሪን ወለል | አንጸባራቂ |
| ማህደረ ትውስታ | አብሮ የተሰራ 128 ሜባ ፍላሽ ማህደረ ትውስታ |
| ሪል-ታይም ሰዓት (RTC) | አዎ |
| የፊት ፓነል ደረጃ አሰጣጥ | NEMA4/IP65 Compliant |
| ተከታታይ ወደቦች | COM1 RS-232 / COM2 RS-485 (2W/4W) |
| የኢሜል ማሳወቂያ | Status e-Mail notification feature |
10. ዋስትና እና ድጋፍ
Weintek products are manufactured to high quality standards. For warranty information and technical support, please refer to the official Weintek webየግዢ ደረሰኝዎን በድረ-ገጽ ላይ ያስቀምጡ ወይም የተፈቀደለት አከፋፋይዎን ያነጋግሩ። የግዢ ደረሰኝዎን የዋስትና ጥያቄዎችን ለማቅረብ የግዢ ማረጋገጫ አድርገው ያስቀምጡት።
For software downloads, drivers, and additional resources, visit the official Weintek support portal.


